Screenshots save you a lot of time when you want to share your screen, save an image or reach out to the developers team for troubleshooting. We’ve walked you through the steps of capturing a screenshot on Windows 7, and now we’ll show you 4 methods how to take a screenshot on Windows 8. These methods cover various devices, from a laptop and a computer to a phone.
Whole screen screenshot from keyboard
Most of the times we need to capture a screenshot of the whole screen. This is the easiest method out there because it gives you the possibility to go back to the image, crop out unnecessary parts and edit it before using it. Here are the steps that you have to follow for capturing a screenshot.
- Identify the Win and PrtScn buttons on your keyboards and push them simultaneously. You PC or laptop screen will slightly darken for a second, which lets you know the screenshot was captured.
- The screenshot will be saved in your Pictures folder. You can find the folder by clicking This PC or by using the keyboard shortcut Win and E.
- The Pictures folder will contain a subfolder entitled Screenshots. Double click that subfolder and you’ll find your screenshots saved as PNG files.
- The photos use rudimentary names: Screenshot 1, Screenshot 2 and so on. If you’ve taken more screenshots, the latest will have the highest number.
- You can edit the screenshots before sending them via email or uploading them on your website.
Single window screenshot from keyboard
For a more professional looking screenshot, you might want to only capture a single window. Follow these steps to achieve that.
- Open the window that you want to capture. This keyboard shortcut will only capture the window that is currently active.
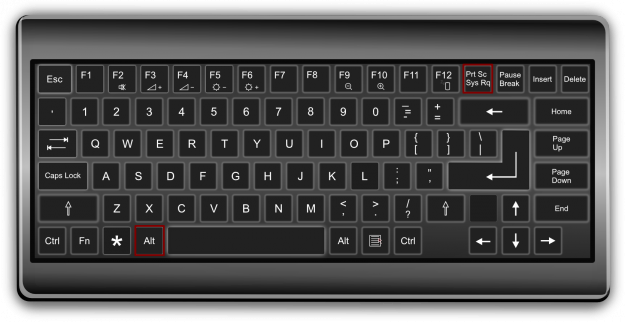
- Locate the Alt and PrtSc buttons on your keyboard. You’ll have to press them at the same time, but you can start by holding down Alt and then pressing PrtSc to avoid taking a screenshot of your entire screen. You won’t receive a notification that a screenshot was taken.
- The image will be saved in your computer’s memory, which allows you to paste it in any image editor. The simplest way is to use Paint. Going on your Start screen, simply type Paint and select the program.
- You can paste the image by using the Edit menu and selecting Paste or by using the keyboard shortcut Ctrl + V.
- The last step is to save the image as a JPEG either by using the keyboard shortcut Ctrl + S or by clicking File and then Save.
Using Snipping Tool
This nifty little program is incredibly intuitive and allows you to do several jobs easily.
- Go to your Start screen page and type Snipping Tool. Available for all Windows 8 versions, you can use this tool in Desktop mode or on touchscreen devices.
- There are four options you can choose from:
- The free form snip enables users to draw a free selection on their screen and only the selected area will show up in the final screenshot.
- The rectangular snip enables users to create a selection box around the content they want to use in their screenshot.
- The window snip enables users to choose a single window that will be captured and saved as a screenshot.
- The full screen snip allows users to take a screenshot of the whole screen.
- After you click on the desired option, you’ll be able to create your selection and you’ll automatically be taken to the Snipping Tool image editor. Here, you can add annotations, or use the pen or the highlighter to emphasize certain parts of your screenshot.
- The last step is saving your snip. Click File and then click Save, or choose the keyboard shortcut Ctrl + S. After you give the image a title, it will be saved on your computer, ready to be used by you.
Taking screenshots on Windows Phone
If you’re using a Windows 8 Phone, the steps of capturing a screenshot are as easy as the ones for screenshots on laptops. Here is what you have to do.
- The first step is finding out what version of Windows 8 your phone has. You can do this by going to Setting, About, More info and checking the Software information.
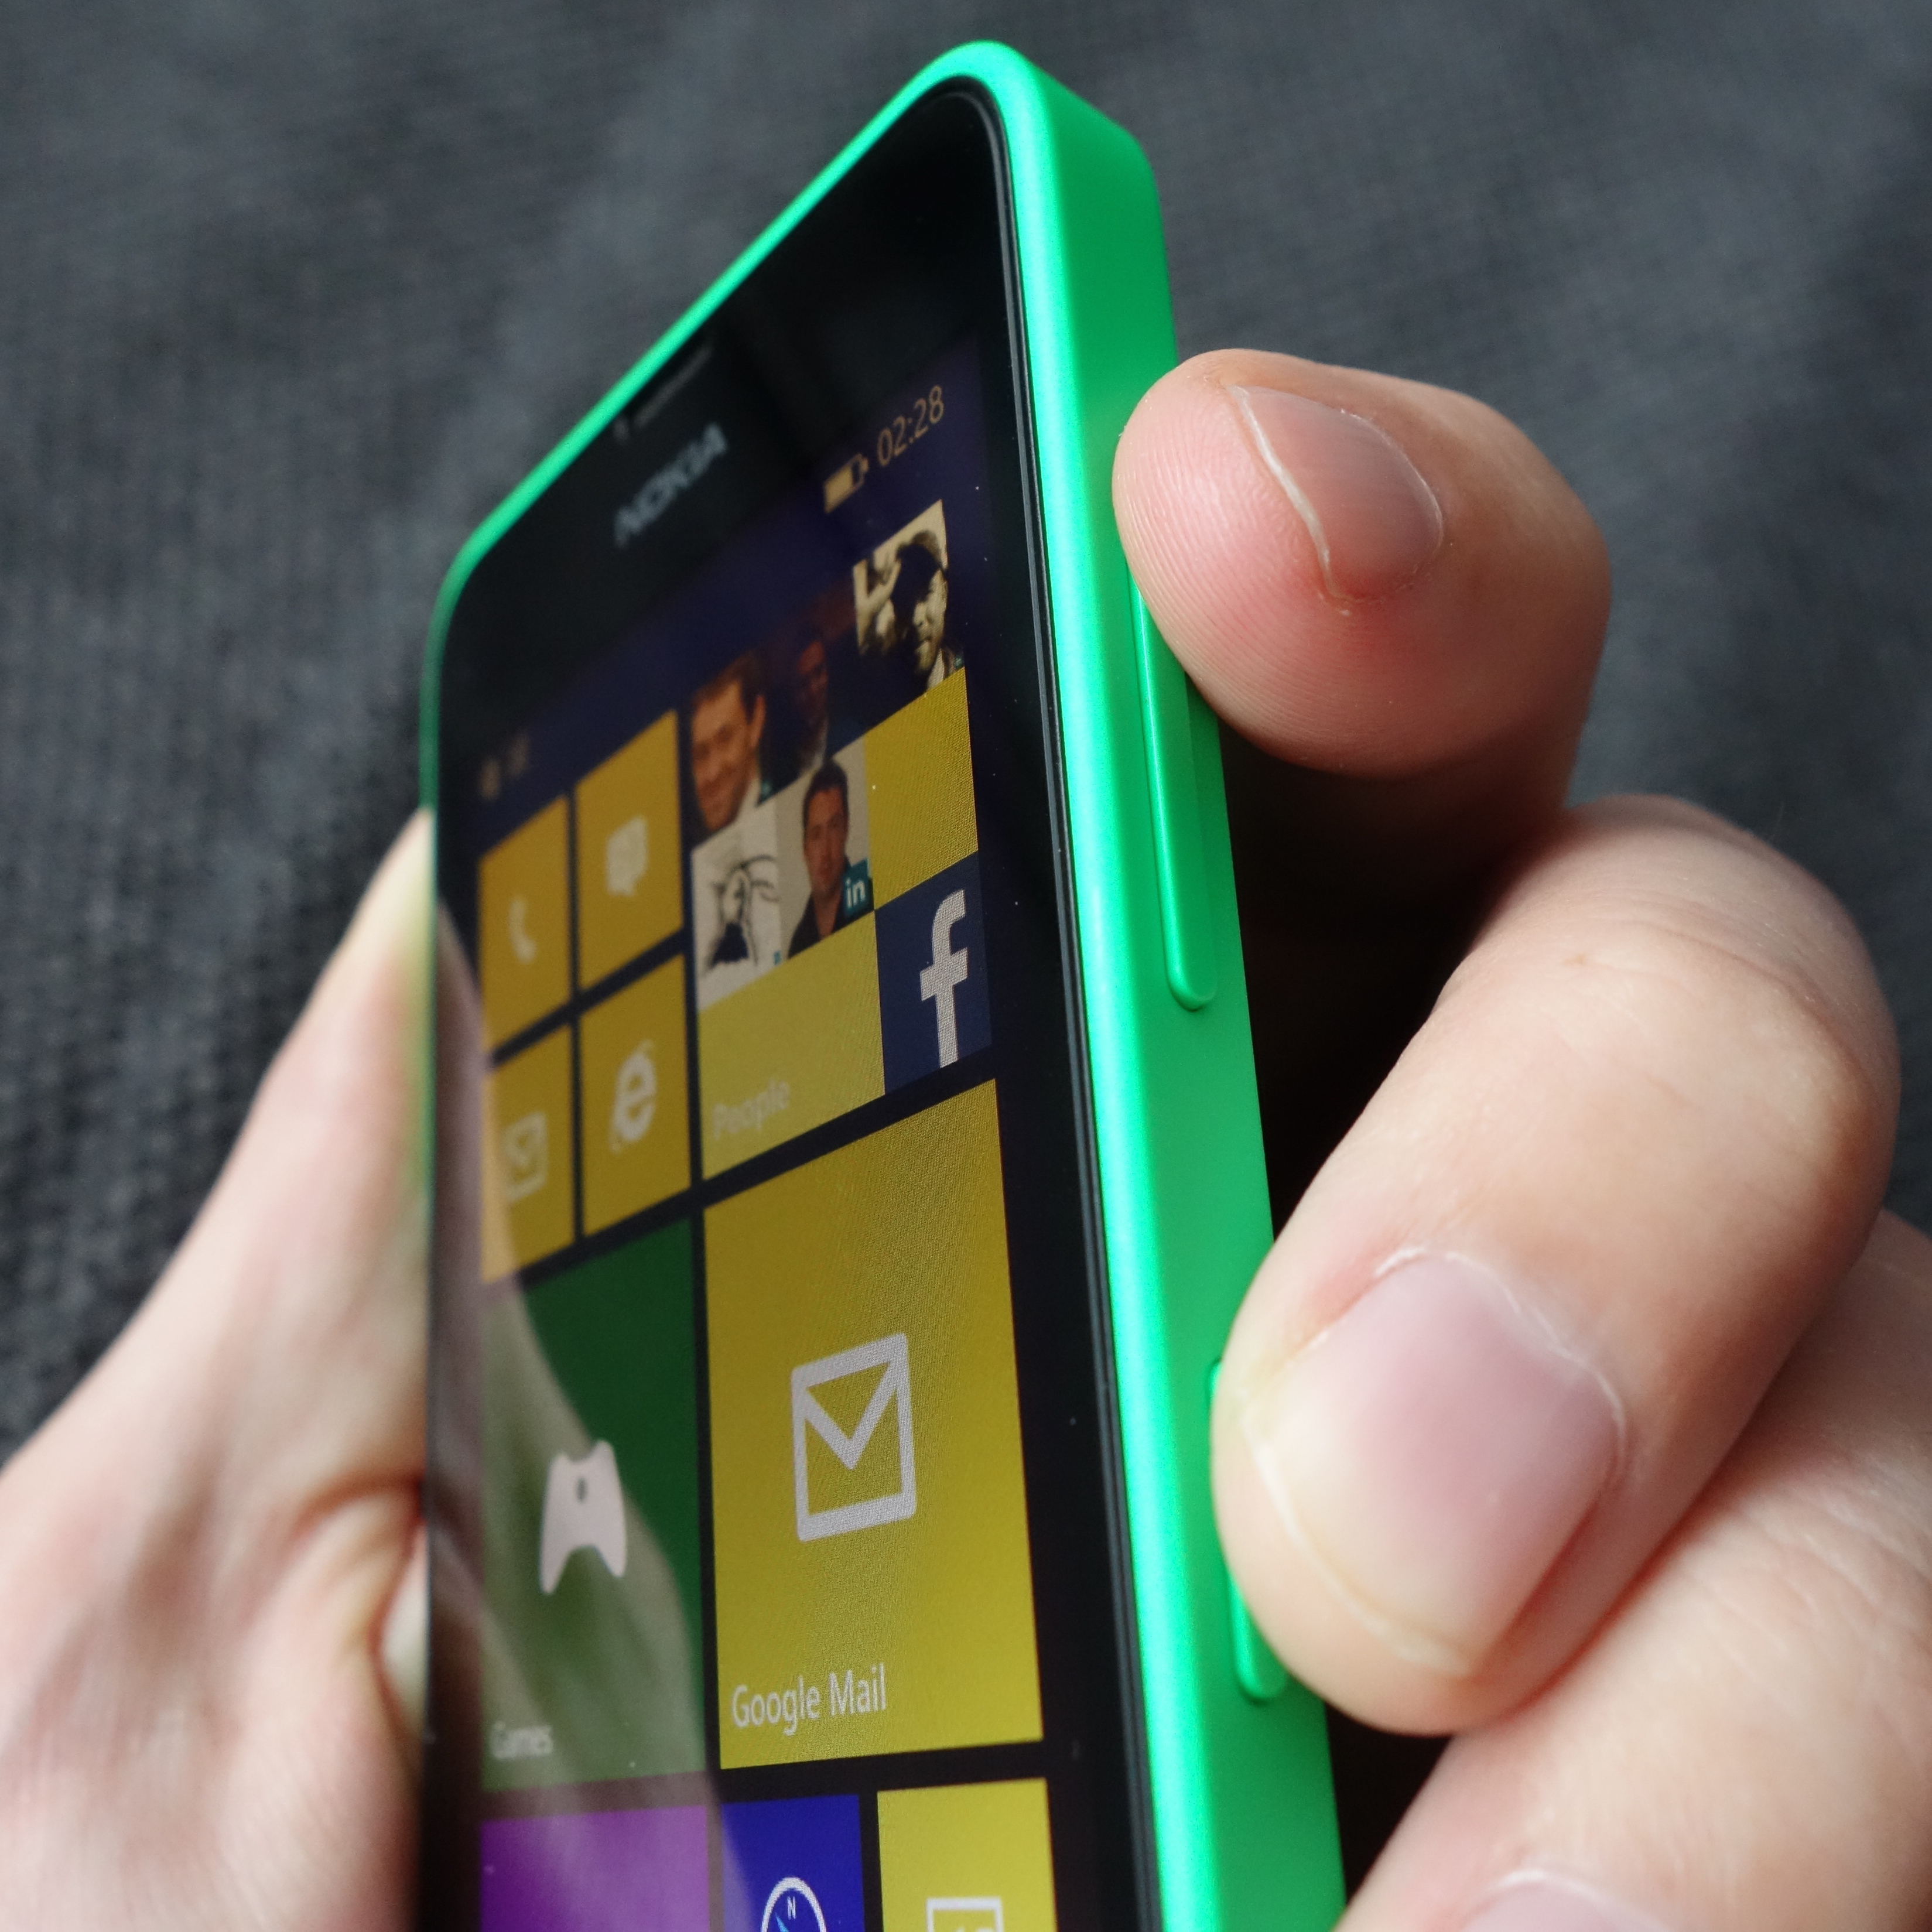
- For Windows 8.1 you’ll have to press the Power button and the Volume up button simultaneously. You will know that your phone has captured the screenshot when the screen will darken slightly.
- Windows 8 phone users will have to follow another key combination. Hold down the Windows key and press the Power button at the same time. The screen will darken, which lets you know the screenshot was taken.
- You will find you screenshot was saved on your phone in the album “Screenshot” within Photos Hub.
Screenshots can be lifesavers. Whether you use them for troubleshooting, for saving an image from a website or for sharing an email conversation, now that you know how to take a screenshot on Windows 8, screenshots are just a few steps away from saving you time and effort.