Wireless routers are really a pain to set up, so we thought we’d give you some much-needed advice on how to setup a Belkin router. There are a lot of routers out there that would need a tutorial such as this one, but we’re going to take it one at the time. Seeing as the Belkin routers are generally the most common routers, we decided to start with how to setup a Belkin router.
Belkin Routers are generally so widespread since their security systems permit them to arrive at the consumer with predefined security settings. This enables full security capabilities from the very first use. Many people who want to cause harm or spy on other people’s wireless networks use the brief period at the start of a router’s life in order to access said router and save the password for future use. With Belkin Routers, that’s near impossible to do since the original wireless encryption key is a long and complicated string of numbers.
In the following sections of this review of the Belkin router models, we’re going to showcase how to install a Belkin router, how to change the Belkin wireless router settings, and how to change the Belkin router default password.
Step 1: the Physical Belkin Router Setup
Before we can go into the details of setting up an actual wireless network and making the internet work, we have to talk about installing the router physically, i.e. connecting it to the modem, plugging it in, and connecting it to your respective device.
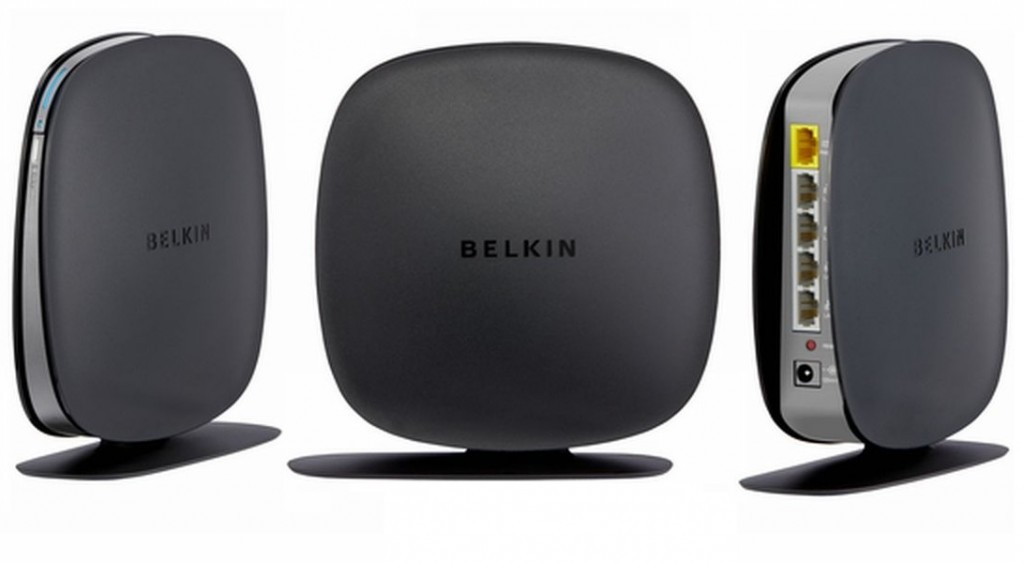
- Take everything out of the box. The natural first step is taking everything in the Belkin router’s box out and laying it all on the table. You should see a power cord, a few network cords, and, of course, the Belkin wireless router.
- Unplug your internet modem. For those that do have a modem for their broadband connection, an important step is to unplug the modem. This is so as to not fry the router before you get to use it.
- Connect the Belkin router to the modem box. This connection is usually made through a modem cable. This type of network cable is typically thinner than a typical network cable.
- Plug in the internet modem. Now it’s time to plug in the internet modem into its respective sockets.
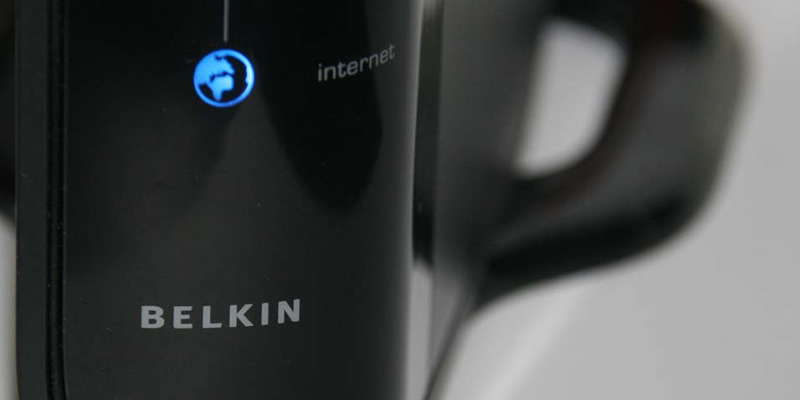
- Plug in the Belkin router. The LED lights on the router should light up one by one after you plug it in.
- Open your computer. Next, you should prepare your computer for the install by inserting the startup disk
Important: don’t mistake the modem cable with the network cable or vice versa. If you try to introduce either one in the other’s socket, it may get stuck in there.
Step 2: Creating the Belkin Router Wireless Network
The second thing that you will probably want to do is actually start using this Belkin router. For this, you will need to know how to access the Belkin router settings and subsequently change them. Here are the exact steps to doing this:
- Open your browser. The best browser for router setup would be Mozilla Firefox although any other should work just as well. This isn’t just our opinion: many tech experts do recommend Firefox for internet connection setup.
- Go to the Belkin Router login. The Belkin router IP should be the address of the network connection. For browsers other than Firefox, you can get this address through the following steps:
- Open command prompt by pressing Windows Key+R and typing cmd.exe.
- In the Command Prompt window type ipconfig and press enter.
- A full list of all the IPs on the respective computer should appear.
- Find the Belkin router’s IP address by looking at the device through which you are connected to it. Tip: if you’re connected through a cable, it’s the Ethernet Adapter Ethernet’s IP; if you’re connected through wireless, it’s the Wireless LAN adapter Wi-Fi.
- Copy the IP and paste it into your browser.
- If you have Firefox. Simply type /router into your address bar and it will automatically do the 5 steps above for you. A smart way to get the Belkin router IP address. You can also try http://192.168.2.1/.
- Login to your Belkin Router. The Belkin router default password should be no password. When prompted for it, simply skip the step.
- Click on Channel and SSID. Over here, make sure the name of the network is the one you want it to be. Also, check out other settings of the network such as wireless channel, wireless mode, bandwidth, and protected mode.
- Click on Security to add a password. You can now choose the type of password that you want for your Belkin wireless router.
Conclusion
This should just about cover your Belkin router setup and settings change. If you have any other problems, check in with your wireless provider or call Belkin customer support. In order to set up your internet connection with your Belkin router, get in touch with the wireless provider’s customer support. We hope this has been of use. If you have any other questions, do not hesitate to leave them in the comments below.